How to make a tabard for a Nativity costume
This page contains affiliate links, which means we may earn a small amount of money if a reader clicks through and makes a purchase. All our articles and reviews are written independently by the Netmums editorial team.
The costume for just about every character in your child's Christmas Nativity play can be made from the same starting base: a simple tabard. Here's a super easy step-by-step guide to making one.
Kids love any excuse to get out the fancy dress box, and Christmas is no exception. If your little one is keen to put on a Nativity at home, or has a starring role as Joseph, Mary, or a Wise Man in the school play, look no further for instructions on how to make a tabard for a Nativity costume.
A tabard is basically a tunic, and the starting point to a lot of homemade fancy dress costumes. The best thing about this costume base, is that you'll only need six items to make it – most of which you may have at home already. Its also a sew-free creation, which is great news as there's no need to follow a specific pattern.
Tabards are super cheap and easy to make – phew!
You will need:
- A piece of fabric – we used about a metre and a half here and it cost about £3. You can also use fabric from old bed linen or scour charity shops for fabric you can cut up too.
- Scissors – make sure they are nice and sharp because there's nothing that ruins the fun of dressmaking more than blunt scissors!
- A plate – as a template for the neck.
- Wonderweb or another type of iron-on hemming tape – you can buy it here at Amazon.
- An iron
- Ribbon or rope as a belt – you can buy rope cord here at Amazon.
How to make your tabard
1. Measure your fabric
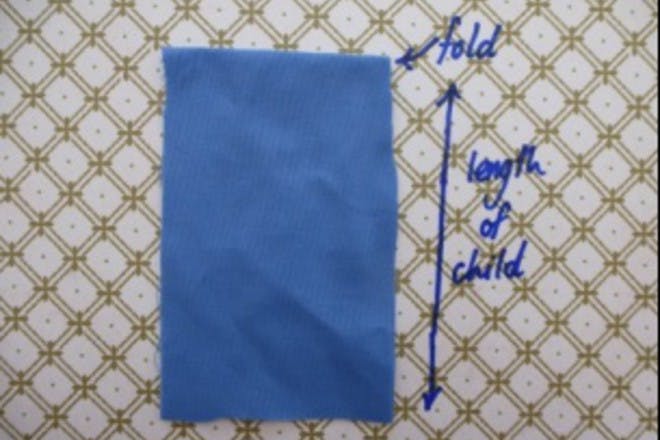
Take a longish length of fabric.
Fold it and measure its size against your child's body so that it is the right length to fit them.
2. Make the neckline
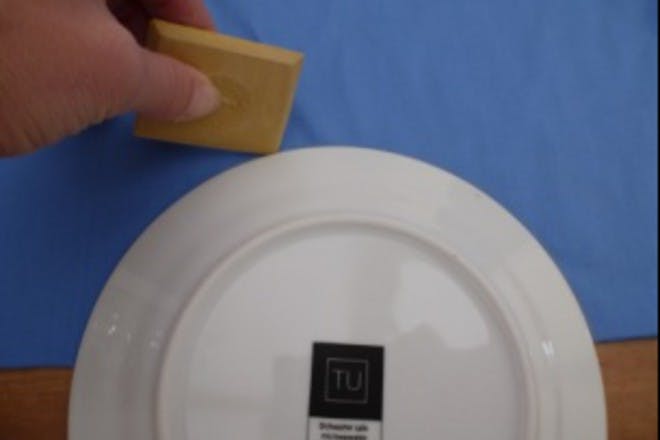
Place a plate at the top, in the centre of the fold, and draw round half the plate.
This is to mark where you cut a semi-circle to make the neckline.
3. Cut out the neckline
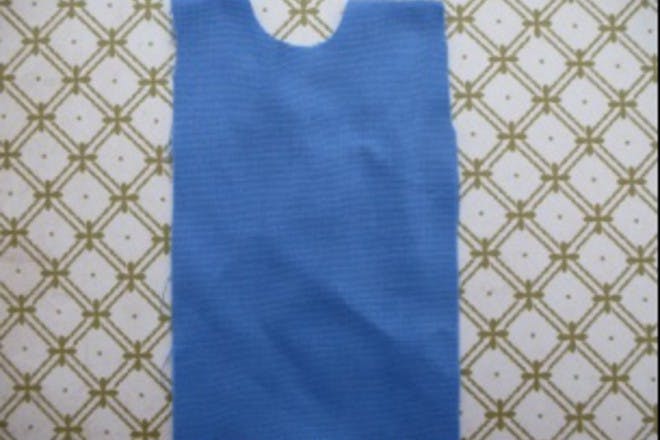
Cut round your semi-circle.
You now have the basic shape of your tabard as shown. If you like you can finish here.
If you want to make your tabard a bit neater then read on.
4. Hem the edges
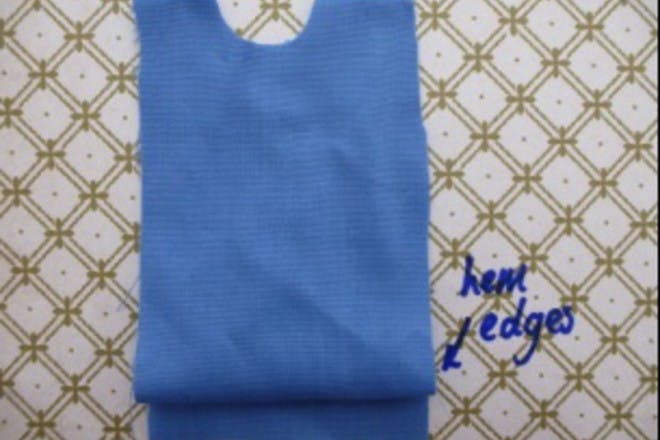
Your tabard will look a lot neater if you hem the edges together.
5. Use hemming tape
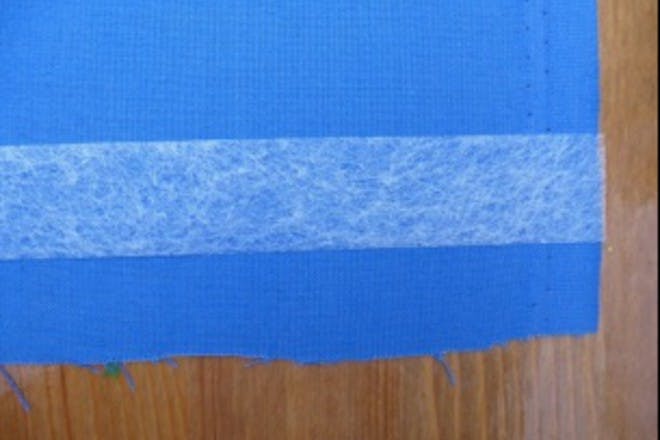
You can use a sewing machine to hem the edges, but if you want a no-sew method then try using wonder web.
It's so quick and easy. First lay a length of wonder web along the edge of the fabric, placing it a little way from the rough edge as shown.
6. Fold the fabric
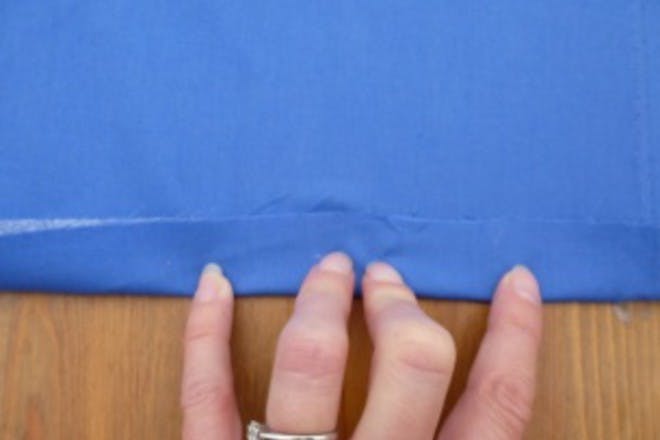
Fold up the rough edge of the fabric so that it's on top of the wonder web/hemming tape.
The wonder web is now sandwiched between the fabric.
7. Bond the hemming tape in place

Place a damp cloth on top and then run a hot iron along the hem to bond the Wonder web or hemming tape in place.
8. Add final details
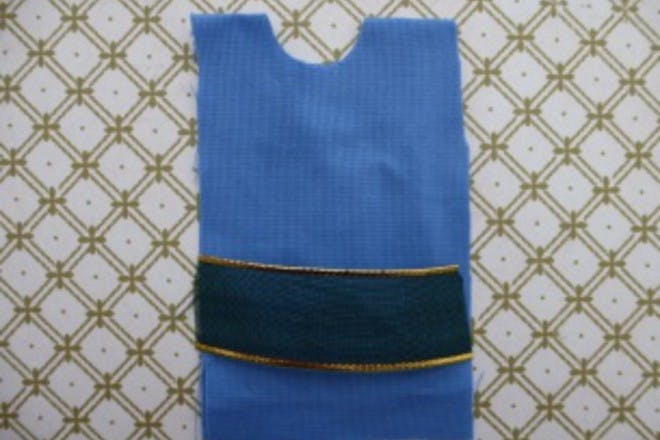
You can use wonder web (or a sewing machine) to add on any details to your tabard.
Perhaps a wise man's tabard would have gold or fancy ribbon added to it?
Or an angel tabard might have gold ribbon edging or stars?
It's really up to you how fancy you want your tabard to be.
9. Tie a rope at the waist
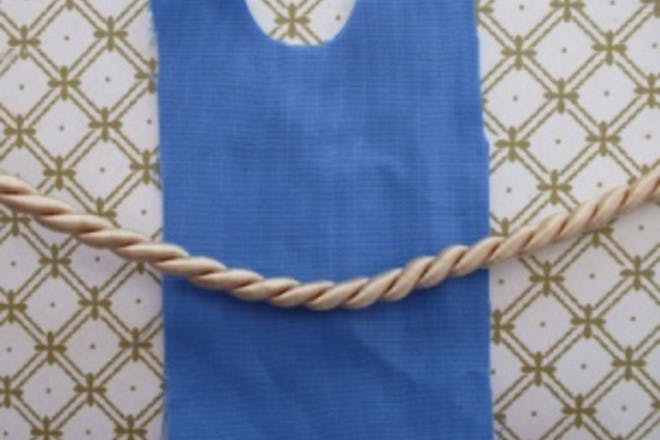
Your child can pop the tabard over their head and then take either a length of fabric, a ribbon, a length of rope or even a dressing gown belt to tie it round the waist.
10. Finish off your costume
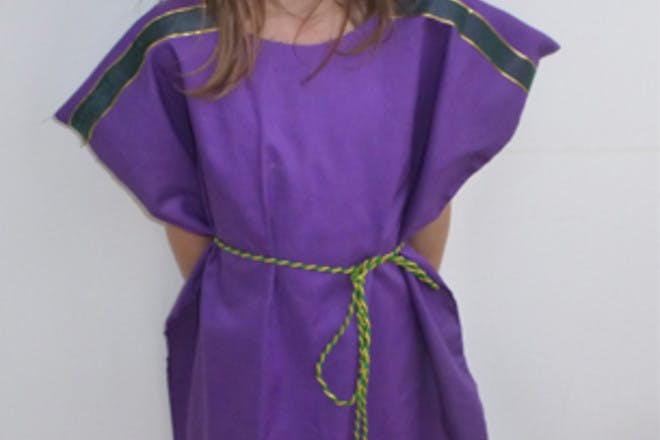
Now you have made your tabard you can make a headress to go with it and then add any further props for your child's Nativity costume.
Check out our other nativity costume ideas below, or share some of your own costume-making tips over on our forum:
Related stories


