Cake baking and decorating

This page contains affiliate links, which means we may earn a small amount of money if a reader clicks through and makes a purchase. All our articles and reviews are written independently by the Netmums editorial team.
Have you ever fancied having a go at making and decorating your child's birthday cake, but were afraid to try, in case it all went horribly wrong?
The great thing about making your own birthday cake is you know exactly what ingredients are in it and you can avoid nasty additives, as well as anything your child dislikes or that causes allergies.
Baking a cake
First decide on what type of cake you want to bake. A madeira sponge is better for larger cakes as it's firmer than a victoria sponge. If you want to make a chocolate cake, just replace 2 tbsp of the flour with 2 tbsp of sieved cocoa.
Sponge or madeira cakes can be baked a day or two before you are going to decorate them. Rich fruit cakes can be made a couple of months in advance.
If you're baking and decorating your cake on the same day, make sure the cake is cold before you start icing it.
Once the cake is cooked, turn it out onto a wire rack to cool. If the cake rises a little too much in the centre, just slice the top off to level it out once it has cooled. Sandwich the tops of the cakes together so you have a smooth surface to ice.
Of course, if you really don't have the time to make your own cake, you can always 'cheat' and buy a plain cake to decorate yourself!
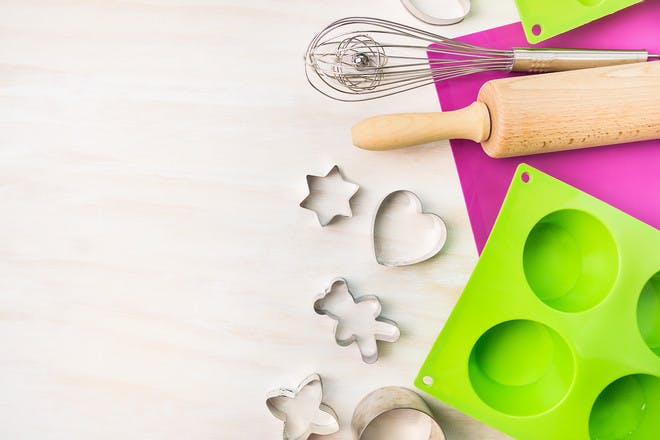
Kitchen staples you can transform into cake tins
- Use pudding bowls to make dome-shaped cakes.
- For tall round cakes e.g. for making towers, you can use cleaned out tin cans (line with greaseproof or parchment, or you'll never get the cake out!).
- For small domed cakes, use oven-proof tea cups.
- Anything that can go in the oven can be used as a cake tin - just use lining to ensure you can get the cake out of awkward shapes!
- You can also hire professional quality shaped cake tins for just a few pounds - local cake decorating/party type shops normally have them.
- If you're looking for second-hand equipment, add a request on our nearly new board.
Icing a cake
Don't choose anything too challenging for your first go! For decorating ideas, borrow a book from the library or have a look at the suggestions in the cake decorating club on the Netmums Coffeehouse forum.

Super-easy cakes
The easiest types of icing to use are glace icing and butter cream.
Make a Victoria sponge cake. When cold, sandwich the 2 halves together with jam and butter cream. Make some simple icing (coloured with a couple of drops of food colouring if wished) and pour this over the cake. Smooth gently with a flat knife to cover the top of the cake (it may well drip down the sides but that doesn't matter!)
"If you run out of icing sugar, you can put normal sugar in a coffee grinder and make your own icing sugar!" - Donna
Let the birthday child help decorate their own birthday cake (make sure they have clean hands!). They could add ready-made cake decorations, sweets, or chocolate buttons by pressing them into the icing - older kids could arrange them in a pattern such as a star, flower, face, initial or age.
"I've made a few cakes for parties etc. that have gone wrong and just said the kids decorated them!" - Lucy
Here are some more easy-to-prepare birthday cake ideas:
Caterpillar
Made from a wavy row of chocolate-covered marshmallows. Make a face and decorate the body with sweets and use chocolate sticks for antennae and legs.
Train
Use a whole Swiss roll for the engine, then two carriages made from a second one, cut in half horizontally. You can load the carriages with sweets for cargo. Finish the train with funnels and wheels made from mini rolls and tracks made from chocolate sticks.
Castle
Add ice-cream cone 'turrets' to the corners of a square cake to make a fairytale castle.
Treasure box
Cut a square cake in half horizontally and stand one half upright behind the other. Cover with chocolate icing. When it's dry, pile gold and silver chocolate coins inside the 'casket' as treasure.
Fort
Cover a square chocolate cake in chocolate butter cream. Stick chocolate fingers all around the sides. Spread green butter cream icing around the bottom of the fort, to look like grass. Alternatively, colour dessicated coconut by adding a few drops of green liquid colouring to coconut in a plastic bag and shaking and scrunching until it's all green. Add toy soldiers, for effect.
Using fondant icing
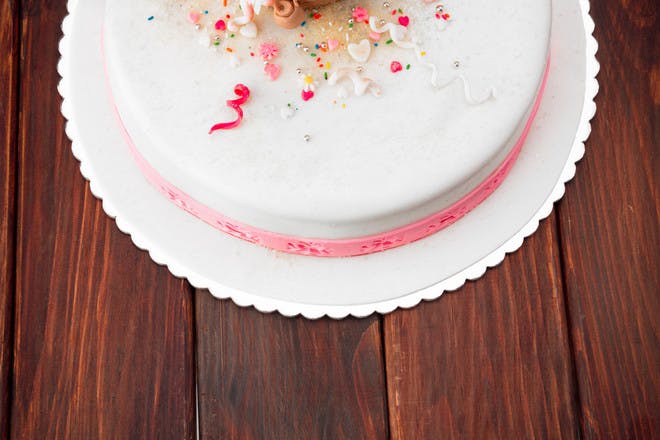
If you are feeling more adventurous, buy some ready made fondant icing. You can buy this plain white and add your own colours, or you can buy it ready coloured.
The best way to colour fondant icing is using paste colours (available from specialist shops or online) but the liquid food colours available in supermarkets are OK too, they are just more dilute, so you may need to add a bit of extra icing sugar. You can also use these for colouring royal, glace and butter icing.
First cover your cake completely in a thin layer of soft butter icing - this acts as a glue for the fondant icing, and also fills up any imperfections in your cake.
You need to have a large flat work surface to roll out the icing. Dust well with icing sugar, and have more icing sugar nearby in case it starts sticking.
Don't roll the icing out too thin. It is a bit easier to work with if it is a little bit thicker - and it won't break so much.
Roll out a rough circle or square large enough to cover your cake - to work out how big to make the circle or square, measure the width and depth of the cake and add these together (depth x2 as you have to cover both sides of the cake!) Eg: for a 20cm wide, 8cm deep cake, you will need 20+(8x2)= 36cm wide circle of icing.
Drape the icing over your rolling pin to lift it and ease over the cake. Gently flatten the icing onto the cake using your hands.Trim away any excess icing at the bottom of the cake, using a sharp knife. Decorate as desired.
If the icing at the base of the cake is a bit uneven, either pipe some icing round the base to cover it up. Or use the roll-out icing and make two very long thin sausages and twist them together and put them round the base.
Cake decorating using fondant icing
Once you've mastered the basics with fondant icing, you could try some of these cake decorating ideas:
Numberjacks
Make sponge cakes and let them cool. Cut cakes to fit together. Stick together with butter cream. Cover with butter cream (you could then add a layer of coloured fondant icing if wished.)
"For number 4 I used a loaf tin and baked 3 of them and put them together to make number 4. I used a round cake tin plus a loaf tin for number 6, then cut out the centre of the round cake and a bit of the loaf one and stuck them together - that was easy. The eyes, however, took me ages to do!" - Claudia
Little Mermaid
"Layer three round cakes on top of each other - each one smaller than the last to make 'rocks'. Cover with ready roll icing and brush with grey food colouring. Then stick in a cheap Barbie doll (minus her legs!) on top and made a tail swirling down the rocks from ready roll icing. Decorate the rocks with starfish, fish, seaweed etc. from icing." - Nic
Mr Men/Little Miss
Make cake in the shape of the character's body. Cover in butter cream and fondant icing (in the character's colour). Model arms and legs from fondant icing and tick these to the body. Add a face from cut out fondant icing, or pipe on with tubes of writing icing.
"I made a Little Miss Naughty cake once. I just used round sponge tins and then cut the shape out. I used the roll out icing and then used a little paint brush and painted on the colouring." - Karen
Other character cakes
Cover your cake with butter cream and fondant icing as before. Roll out some coloured icing and cut out in the shape of your child's favourite character. Stick this to the top of the cake using a little icing sugar mixed with water.
"Print out cartoon characters from the internet and cut out the different parts to use as templates. I did a Thomas the Tank Engine cake that way and it worked exceptionally well." - Helen
"Wash themed toys (favourite TV characters etc.) and put them on top of the cake." - Emma
Icing a fruit cake
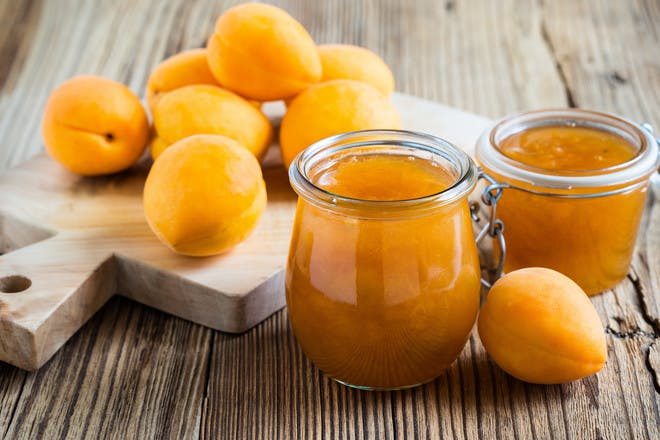
Turn the cake upside down so you have a flat surface to ice. Warm up some apricot jam, pick out any lumps of apricot, and spread thinly over the surface of the cake.
Cover the cake with a layer of marzipan and allow to dry out for 24 hours. Cover the marzipan with a layer of fondant icing, or royal icing.
"If you don't want to buy a jar of apricot jam just to stick marzipan on a fruit cake, you can use golden syrup instead. Just warm it up first and brush over the cake." - Lisa
"On rich fruit cakes you'll find little holes all around the top and edges - fill them in with little blobs of marzipan to get a perfectly smooth finish." - Sharron
"If you are covering a fruit cake with marzipan before the icing, let it stand for a day before you ice it - if you have time." - Helen
Easy Christmas cake
Decorate with holly leaves and berries, Santa, snowmen, presents etc, made from rolled-out coloured fondant icing.
Moisten the decorations with a little water or runny glace icing, to stick them to the cake.
You can use fondant icing in the same way as playdoh - roll balls to make snowmen or penguins to transform a simple white iced cake into something dramatic.
Tips on avoiding artificial colours
We know they're not the best thing to include in our children's diets (more info) so if you want to avoid using artificial colours in your icing, there are a few options:
- Use plain uncoloured icing (made with Billington's unrefined icing sugar if preferred)
- Use melted chocolate instead of icing
- Make chocolate icing (add 1 or 2 tsp of sieved cocoa to the icing) or coffee flavoured icing (dissolve 2 tsp coffee granules in 1 tbsp boiling water and add to the icing until you have a strong enough coffee flavour and colour)
- Use natural food colours available from Asda and other supermarkets
- Use plain white/cream fondant to cover the cake, then use coloured fondant for the decorations


